There are a lot of uses for the Warner Bros. bags that are handed out to every attendee during San Diego Comic-Con — but none may be quite as good as what Sabrina Utter has done.
Utter has been attending the convention since 2011, and every year when she’d return home with her swag, she’d look at her Warner Bros. bags and consider. Finally, she had an epiphany in 2013 — the bags would make great artwork.
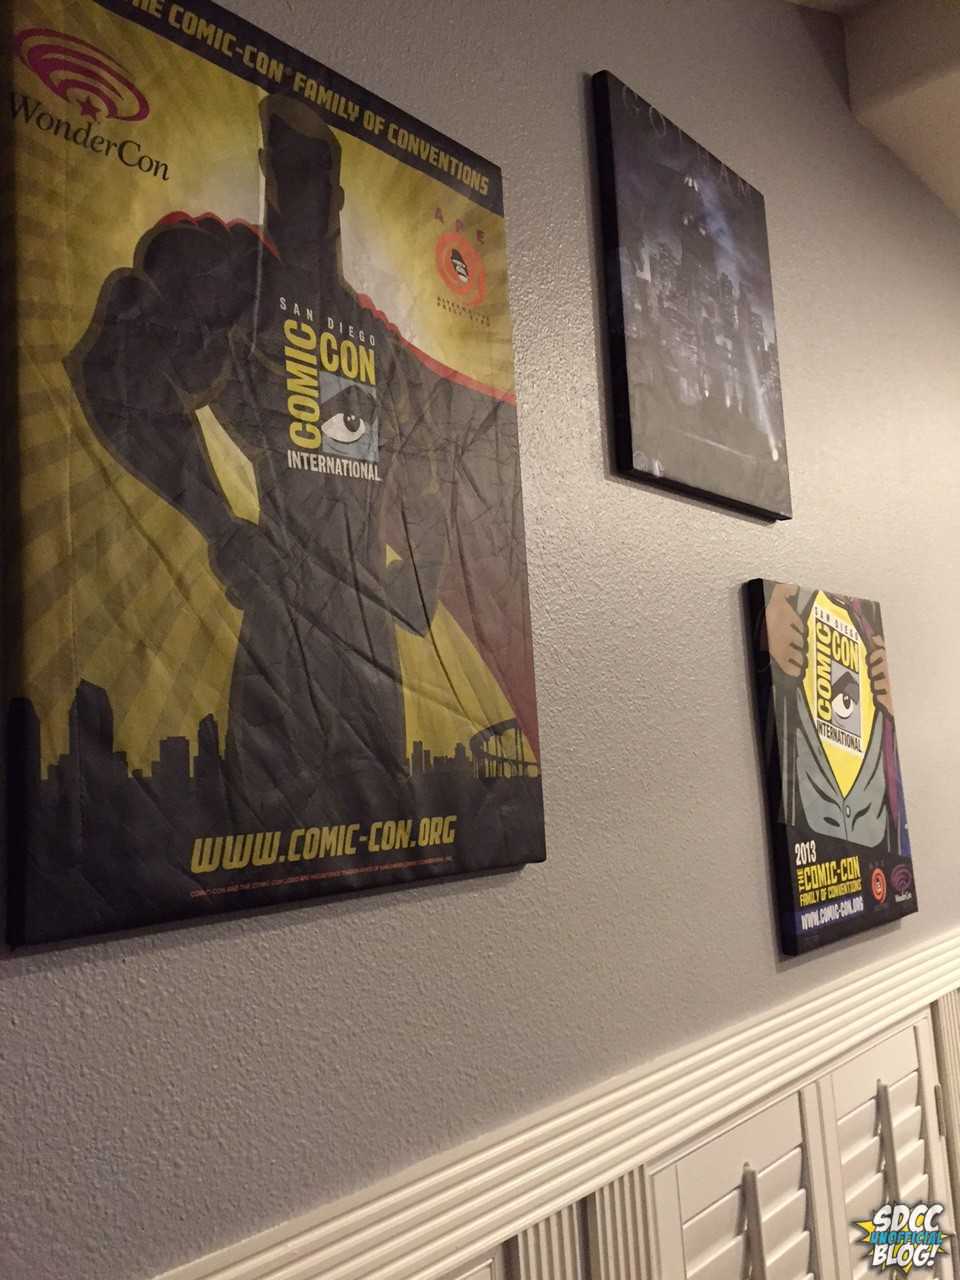
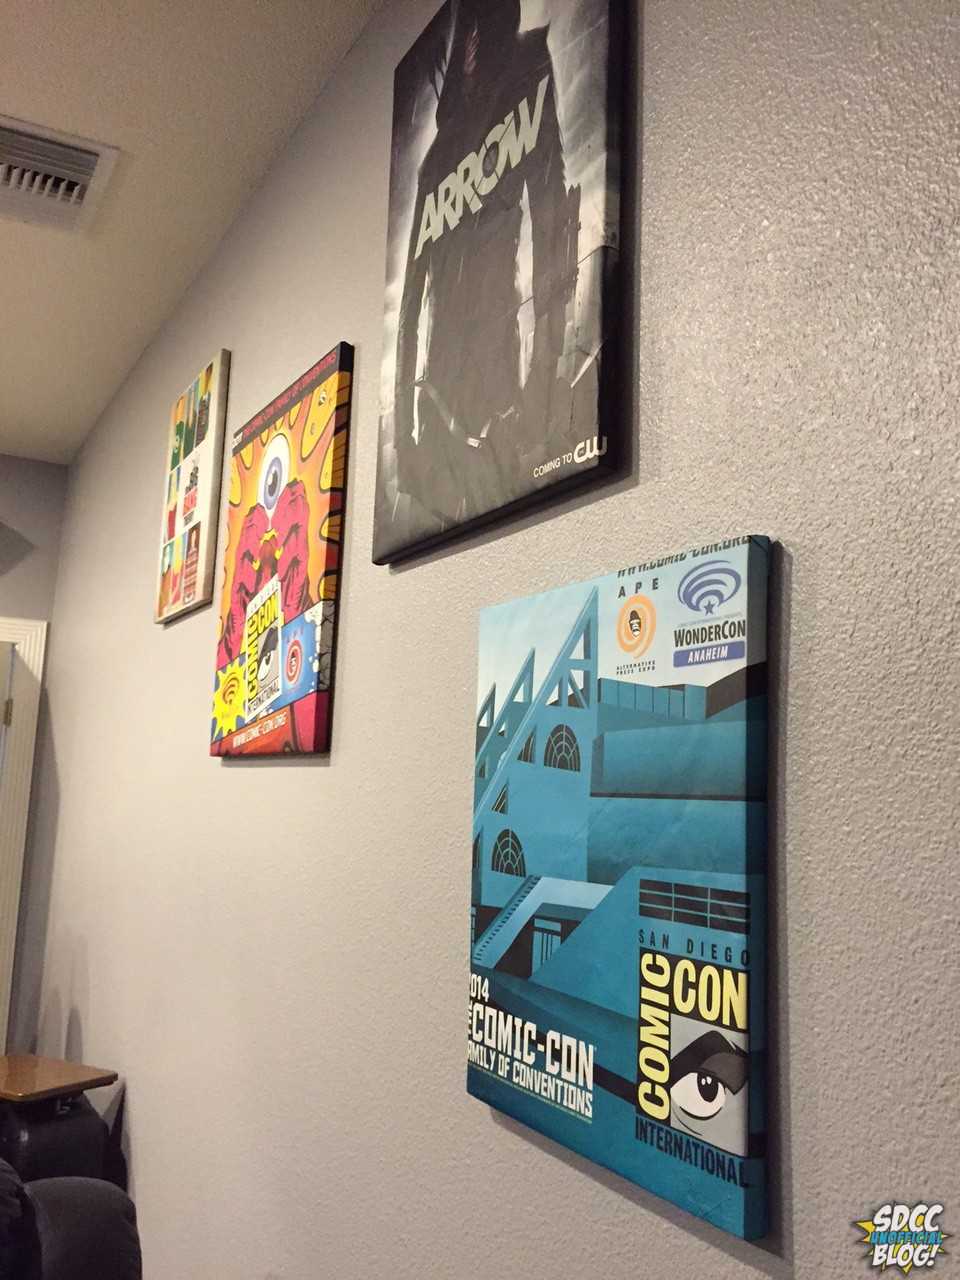
“Back in 2013 we added a home theater, and I thought I should have the bags framed and put on the walls, but when you price this out, it’s extremely expensive and because of the size, they are really heavy,” Utter said. “So the bags stayed in a closet. I started thinking about using them as window covers at one point. Anyway, cut to 2015 and recently I purchased canvas framed artwork for a room in the house and all of a sudden my hubby thought I should do this with my SDCC bags.”
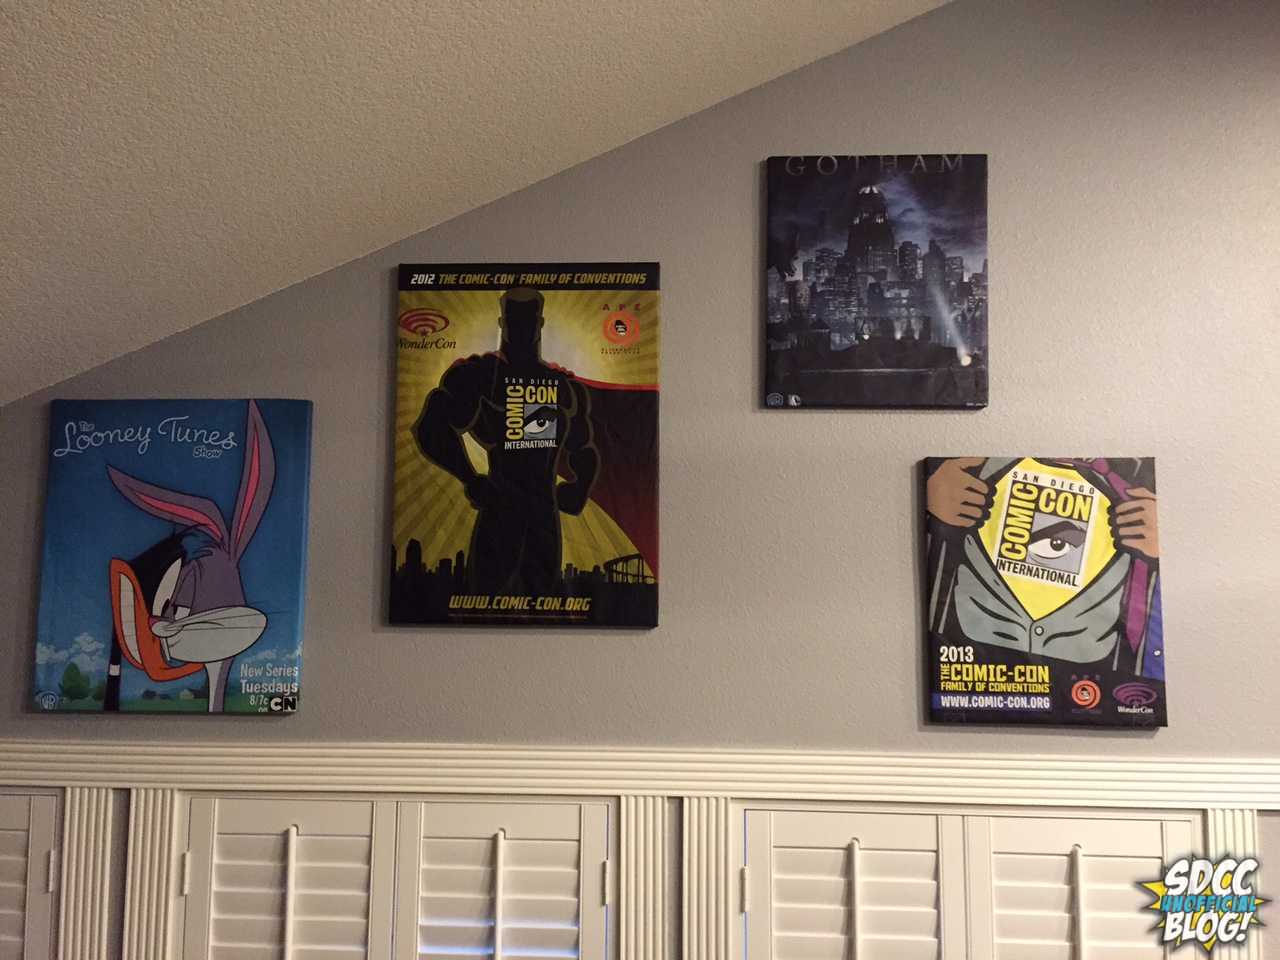
$80 later for some DIY tools and supplies, and she and her husband had created not only unique artwork for their home theatre, but also figured out a way to celebrate the memories attached to Comic-Con.
We spoke to Utter, and got the details on how she did it — and how you can too.
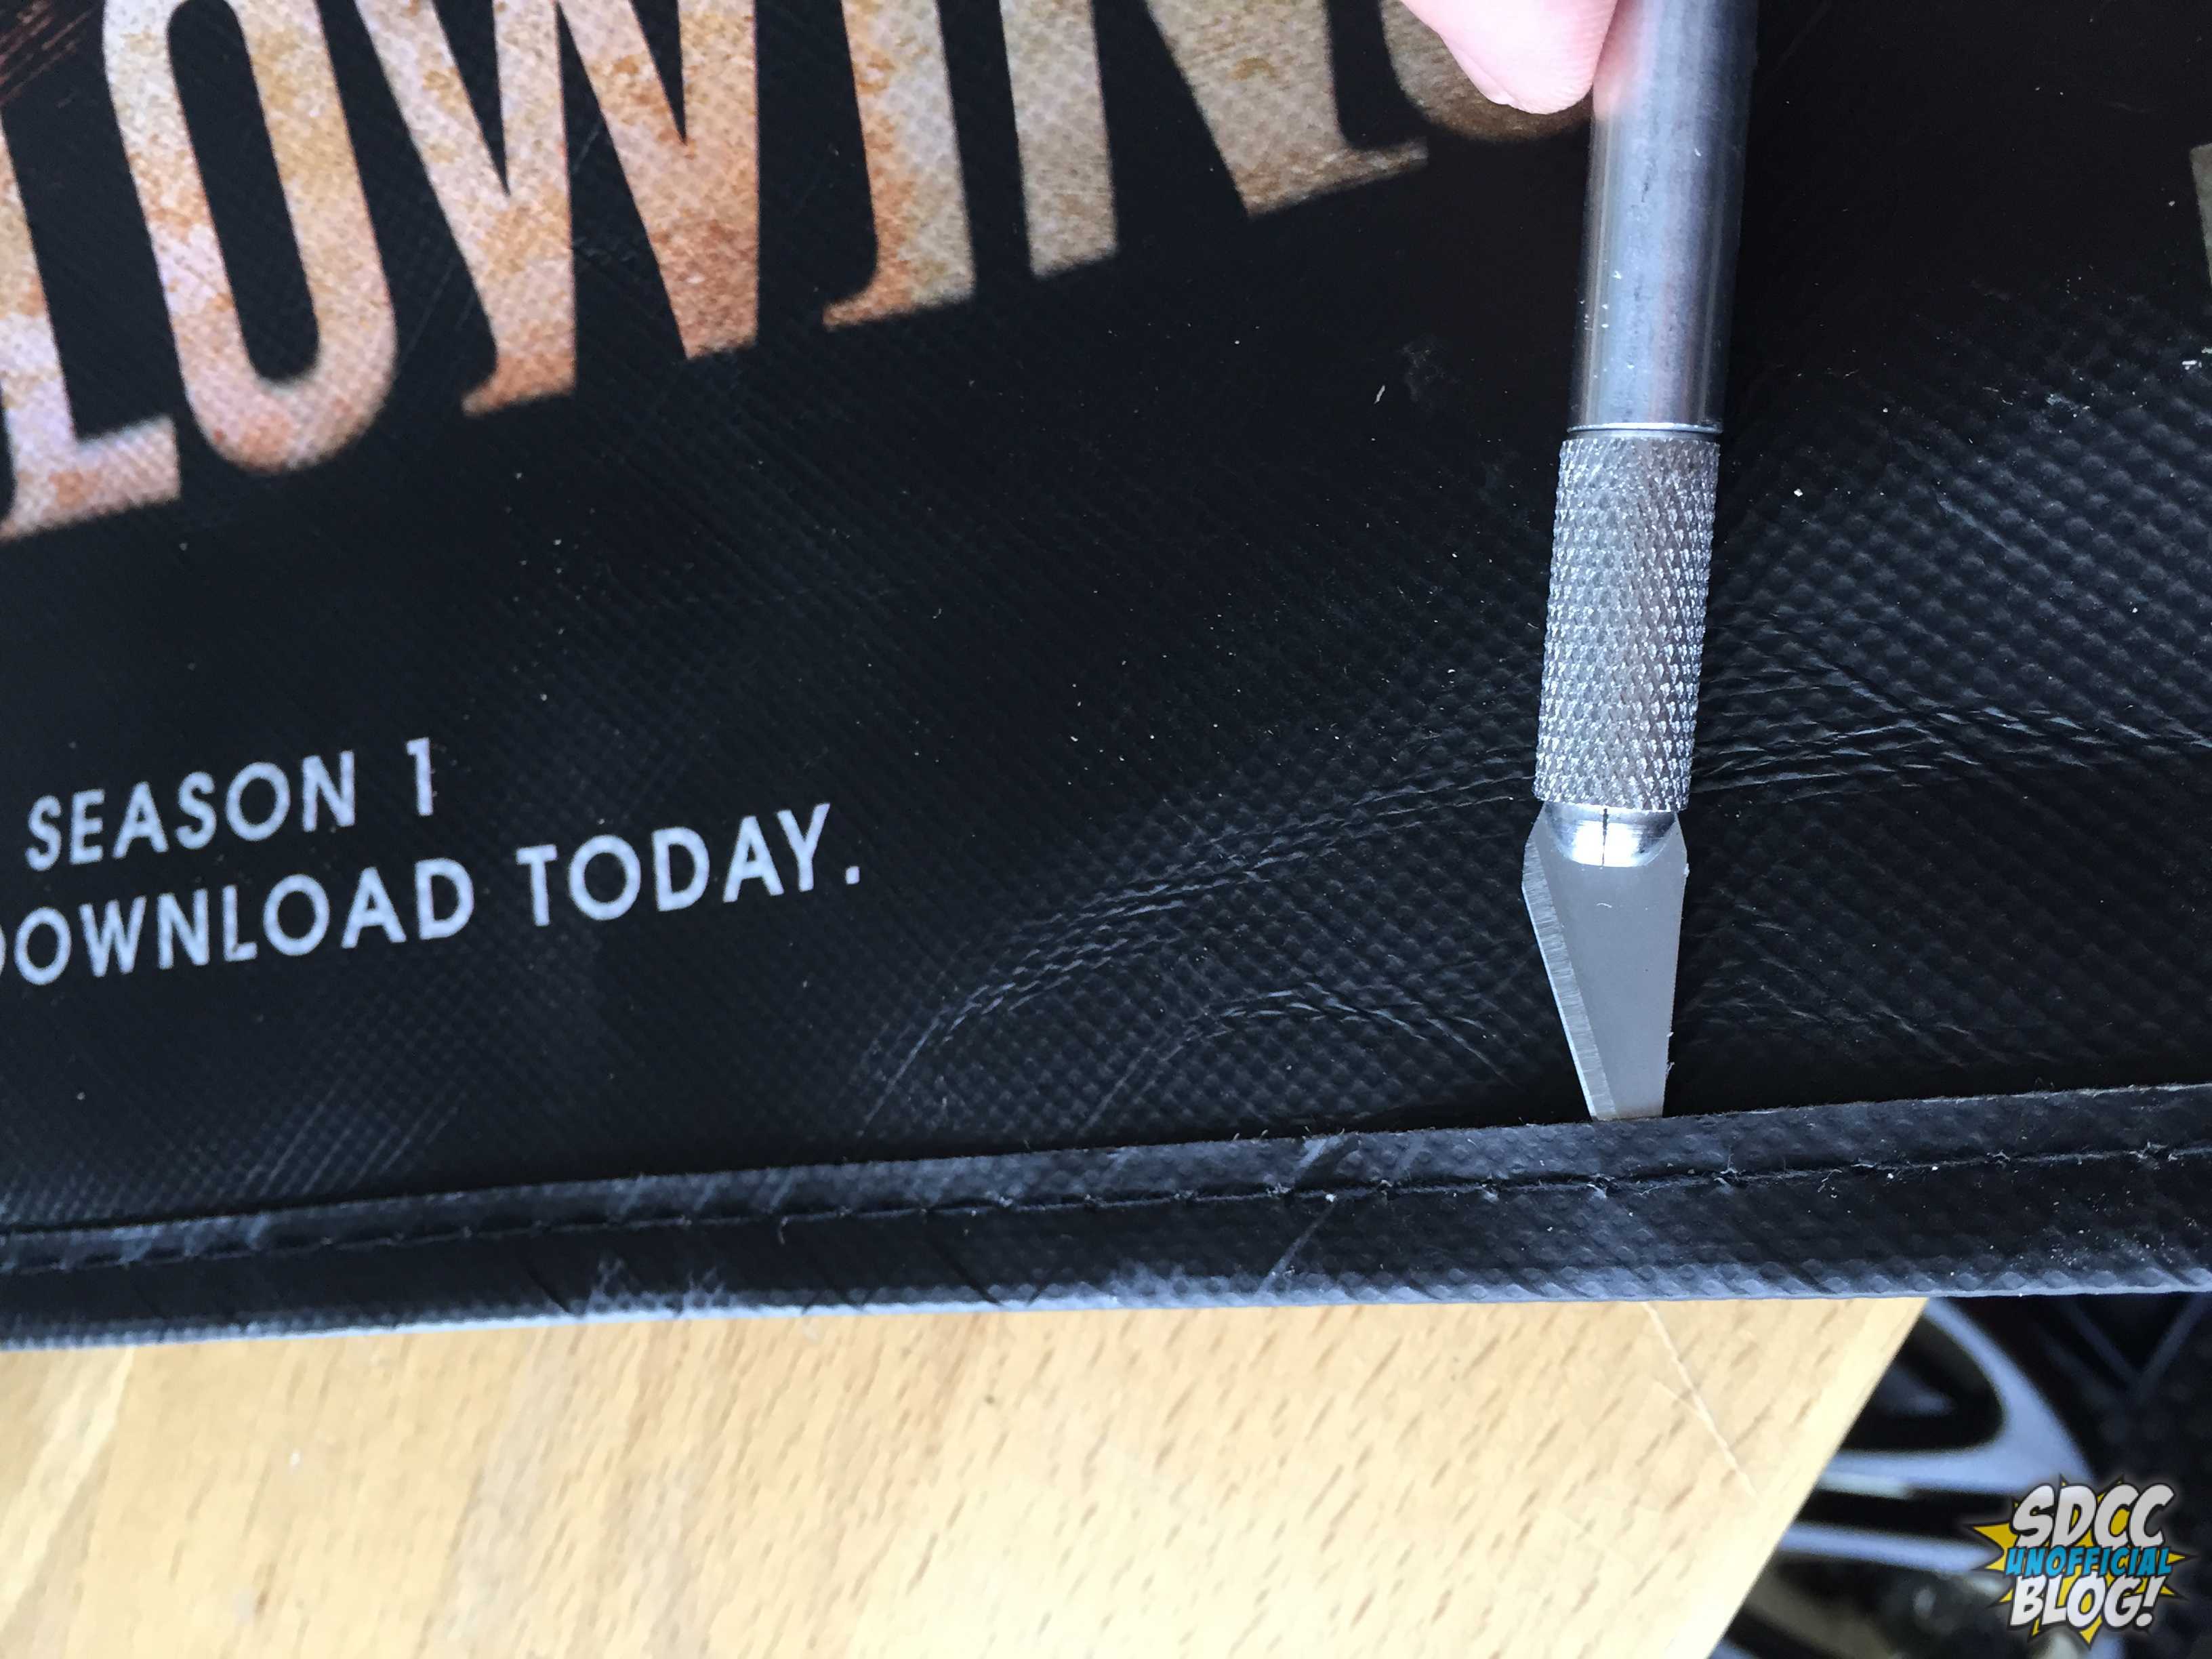
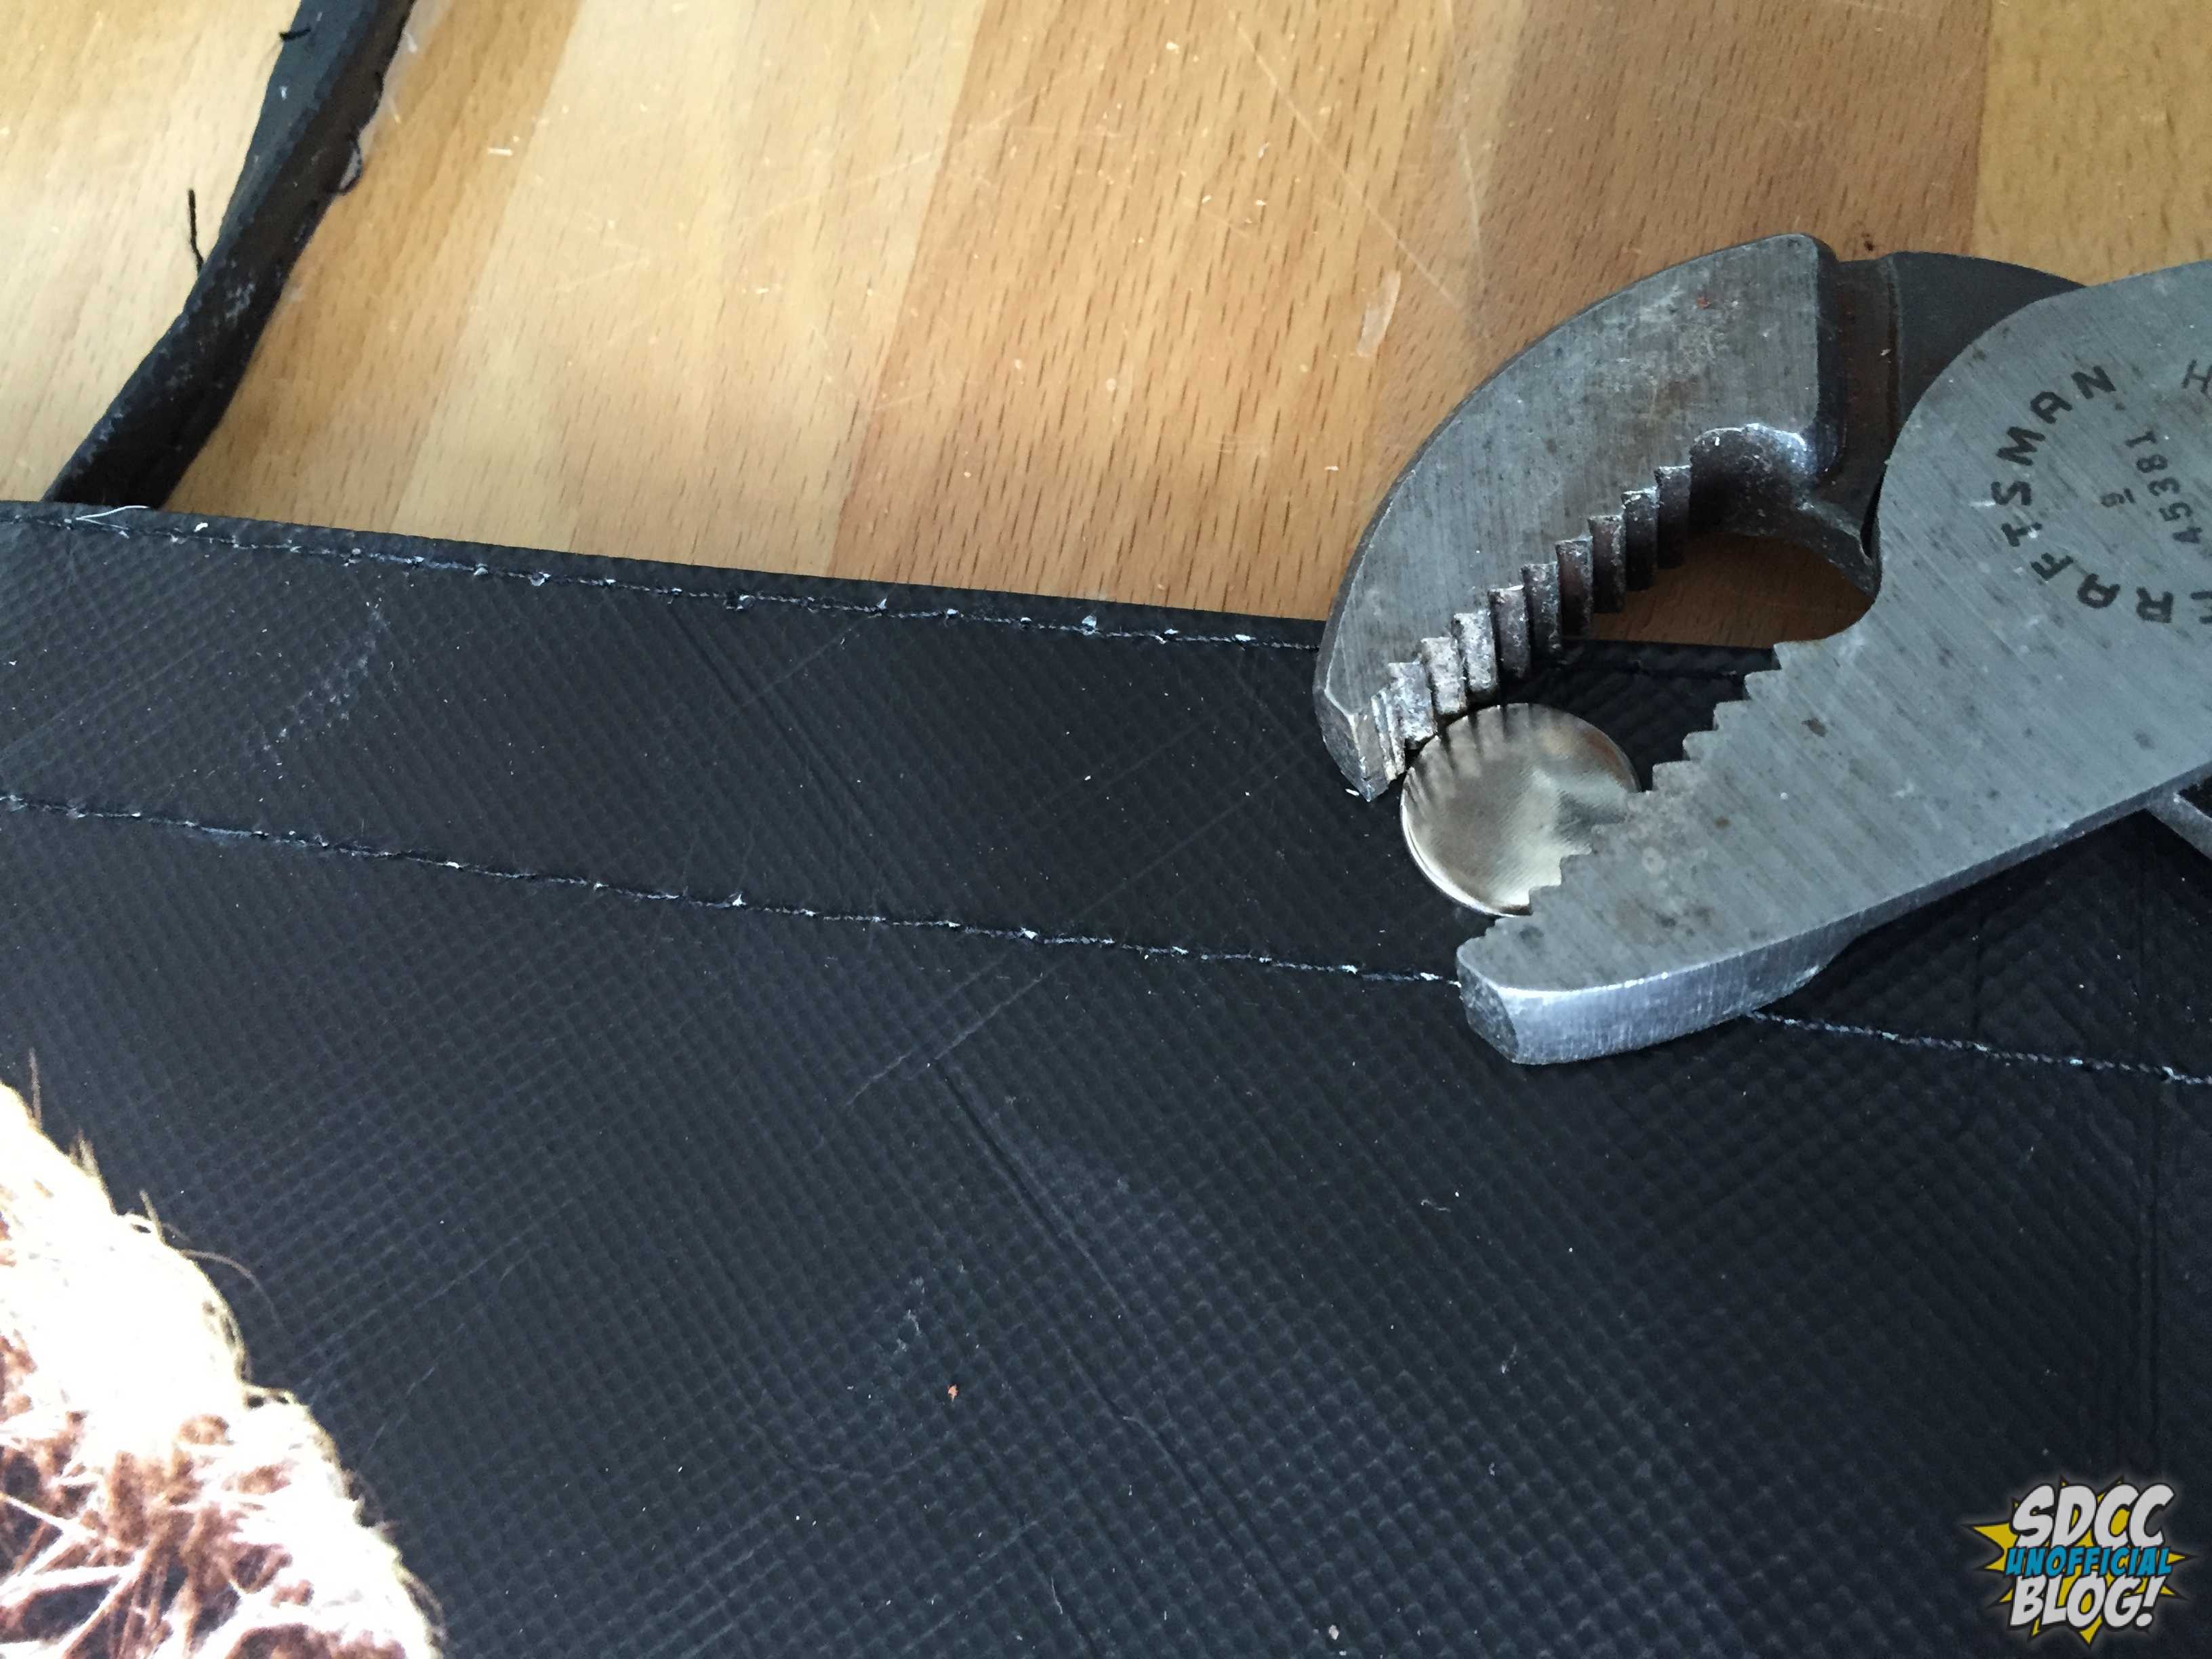
1). Use a seam ripper or exacto knife to rip apart the seams, remove handles and Velcro. Snaps are really hard to remove — using pliers to crimp and crush the snap make it fall apart so that you can take off the metal.
2) Once you get all the seams laid out flat you will have a measurement for your pieces.
3). Purchase wood from your local hardware store. Purchase 1 inch by 2 inch pieces. Utter used an electric chop saw to get very precise cuts, but you can use any type. You just want to make sure your cuts are straight.
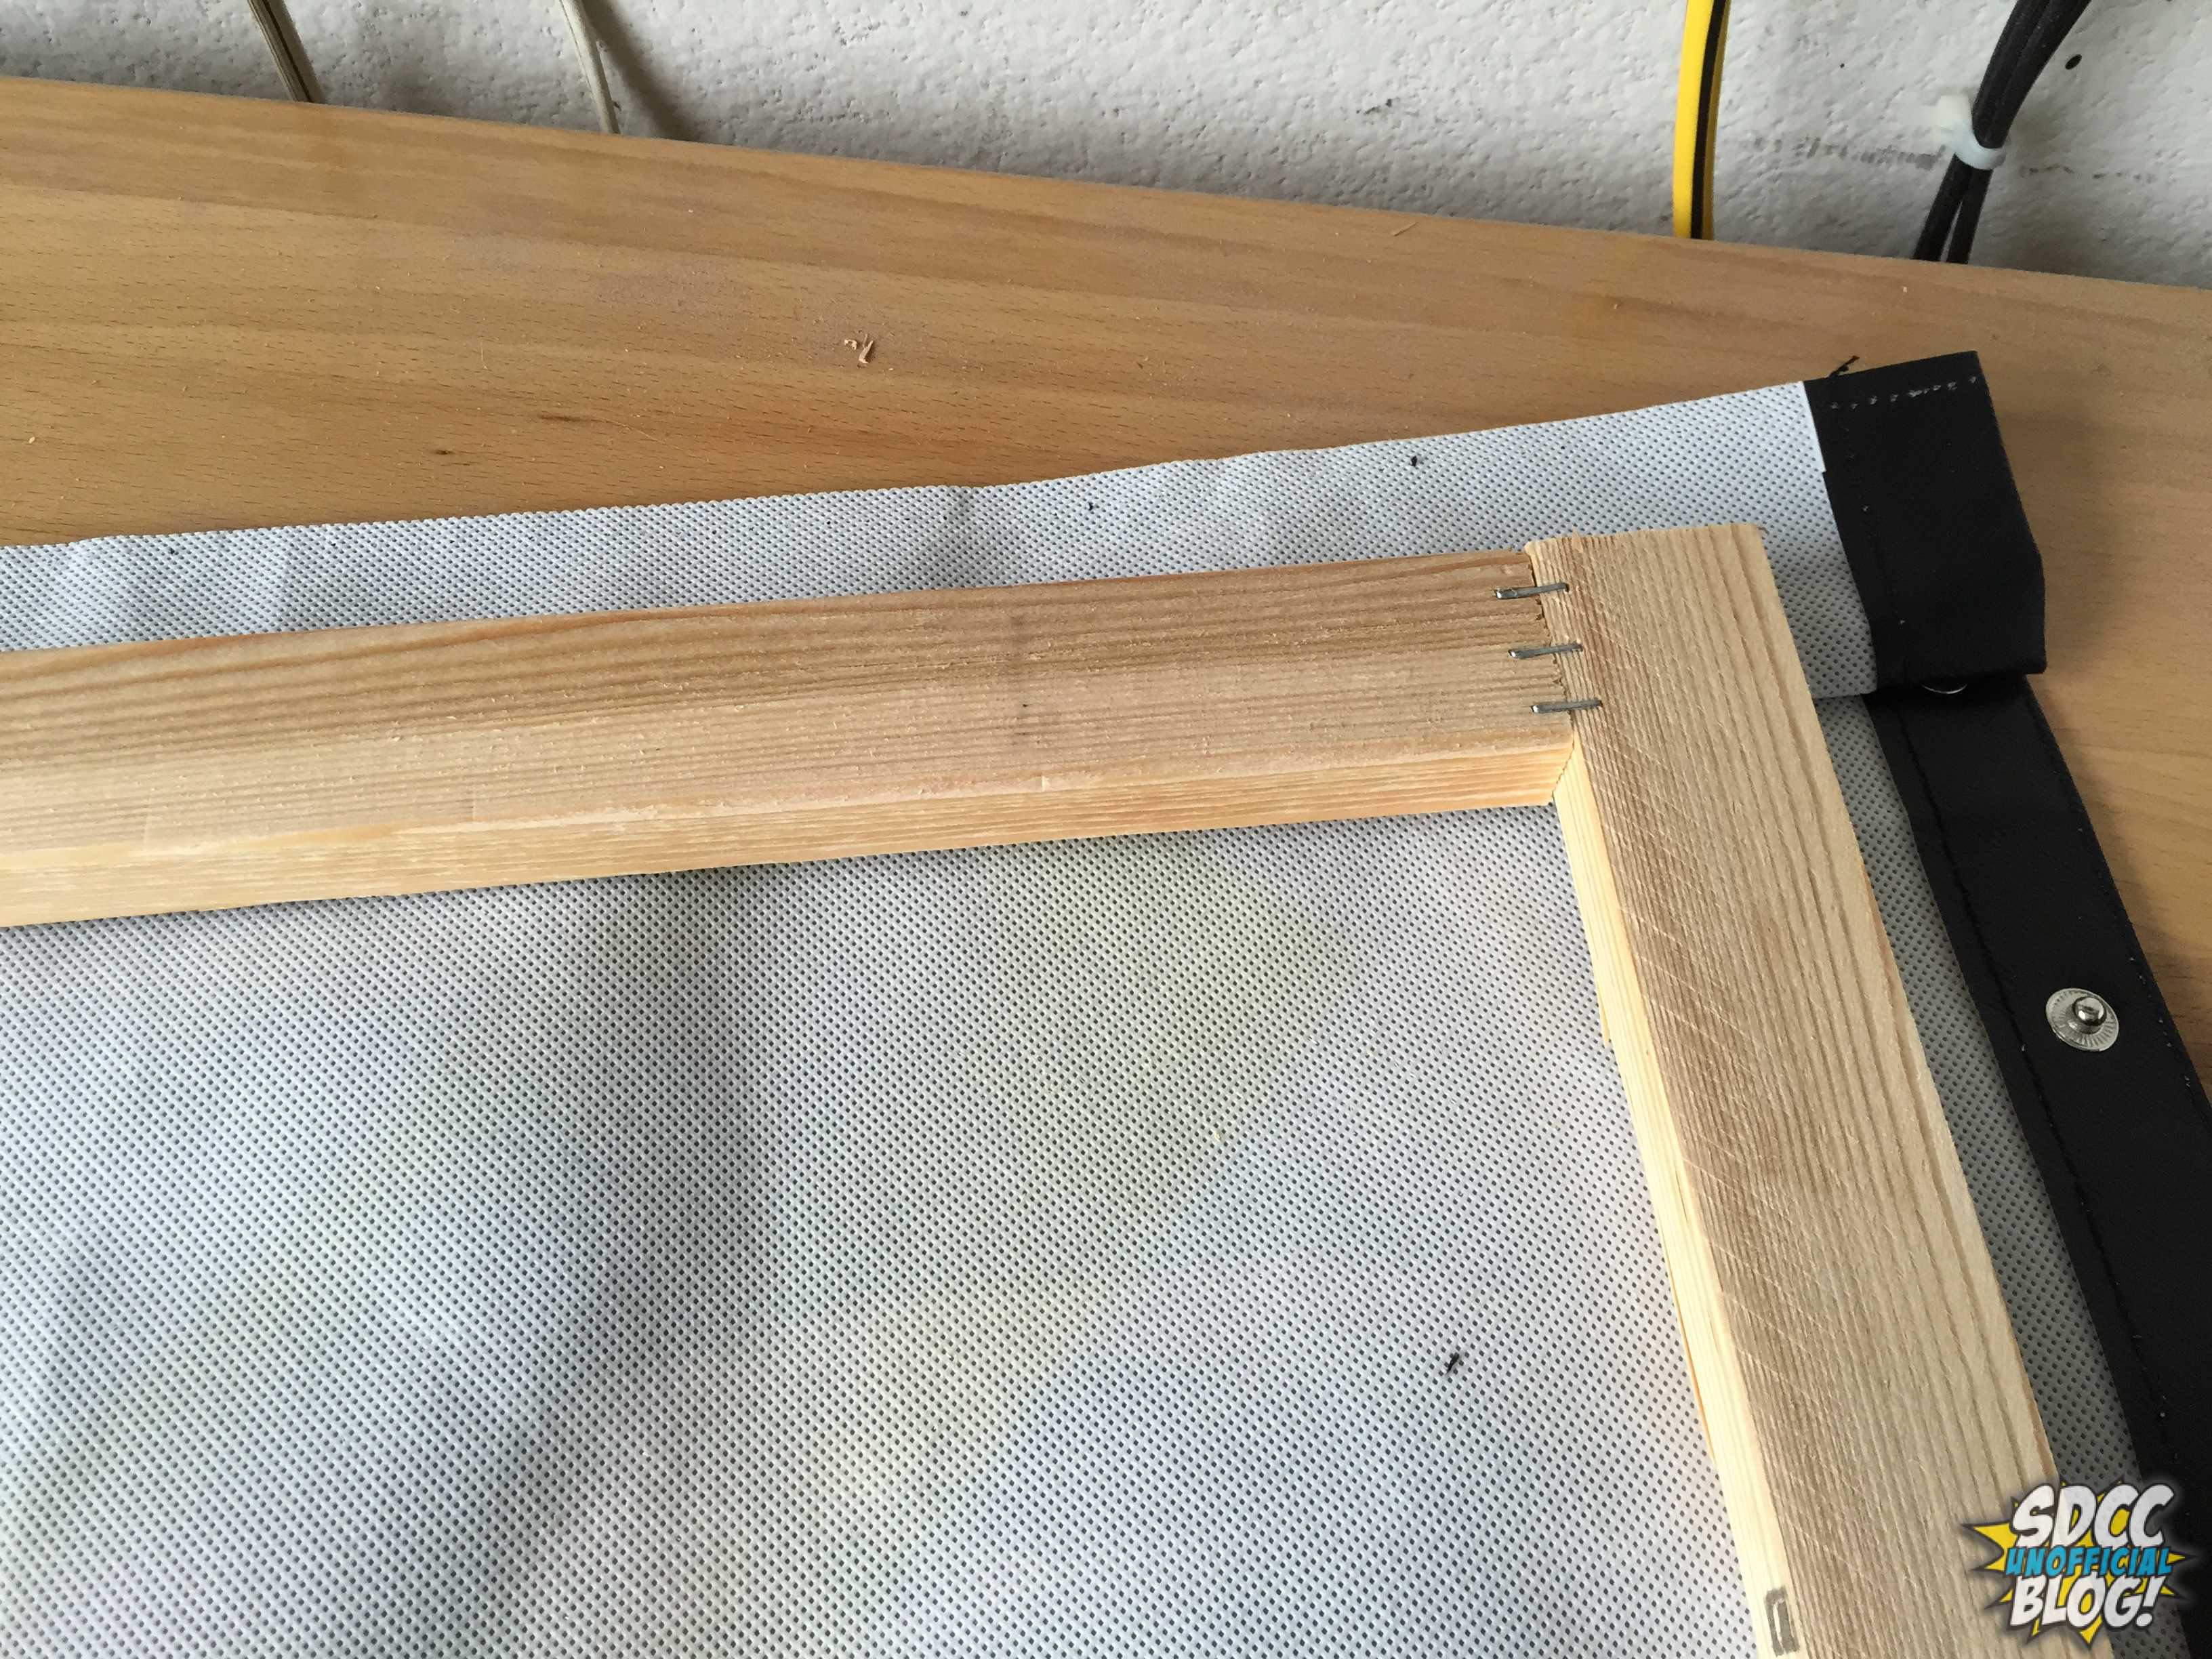
4). Cut the wood. When you measure for your cuts, remember that the canvas (bag) will wrap around the frame so subtract 1 1/2 inch from each side. Cut two pieces the same for the sides and two the same for the top and bottom.
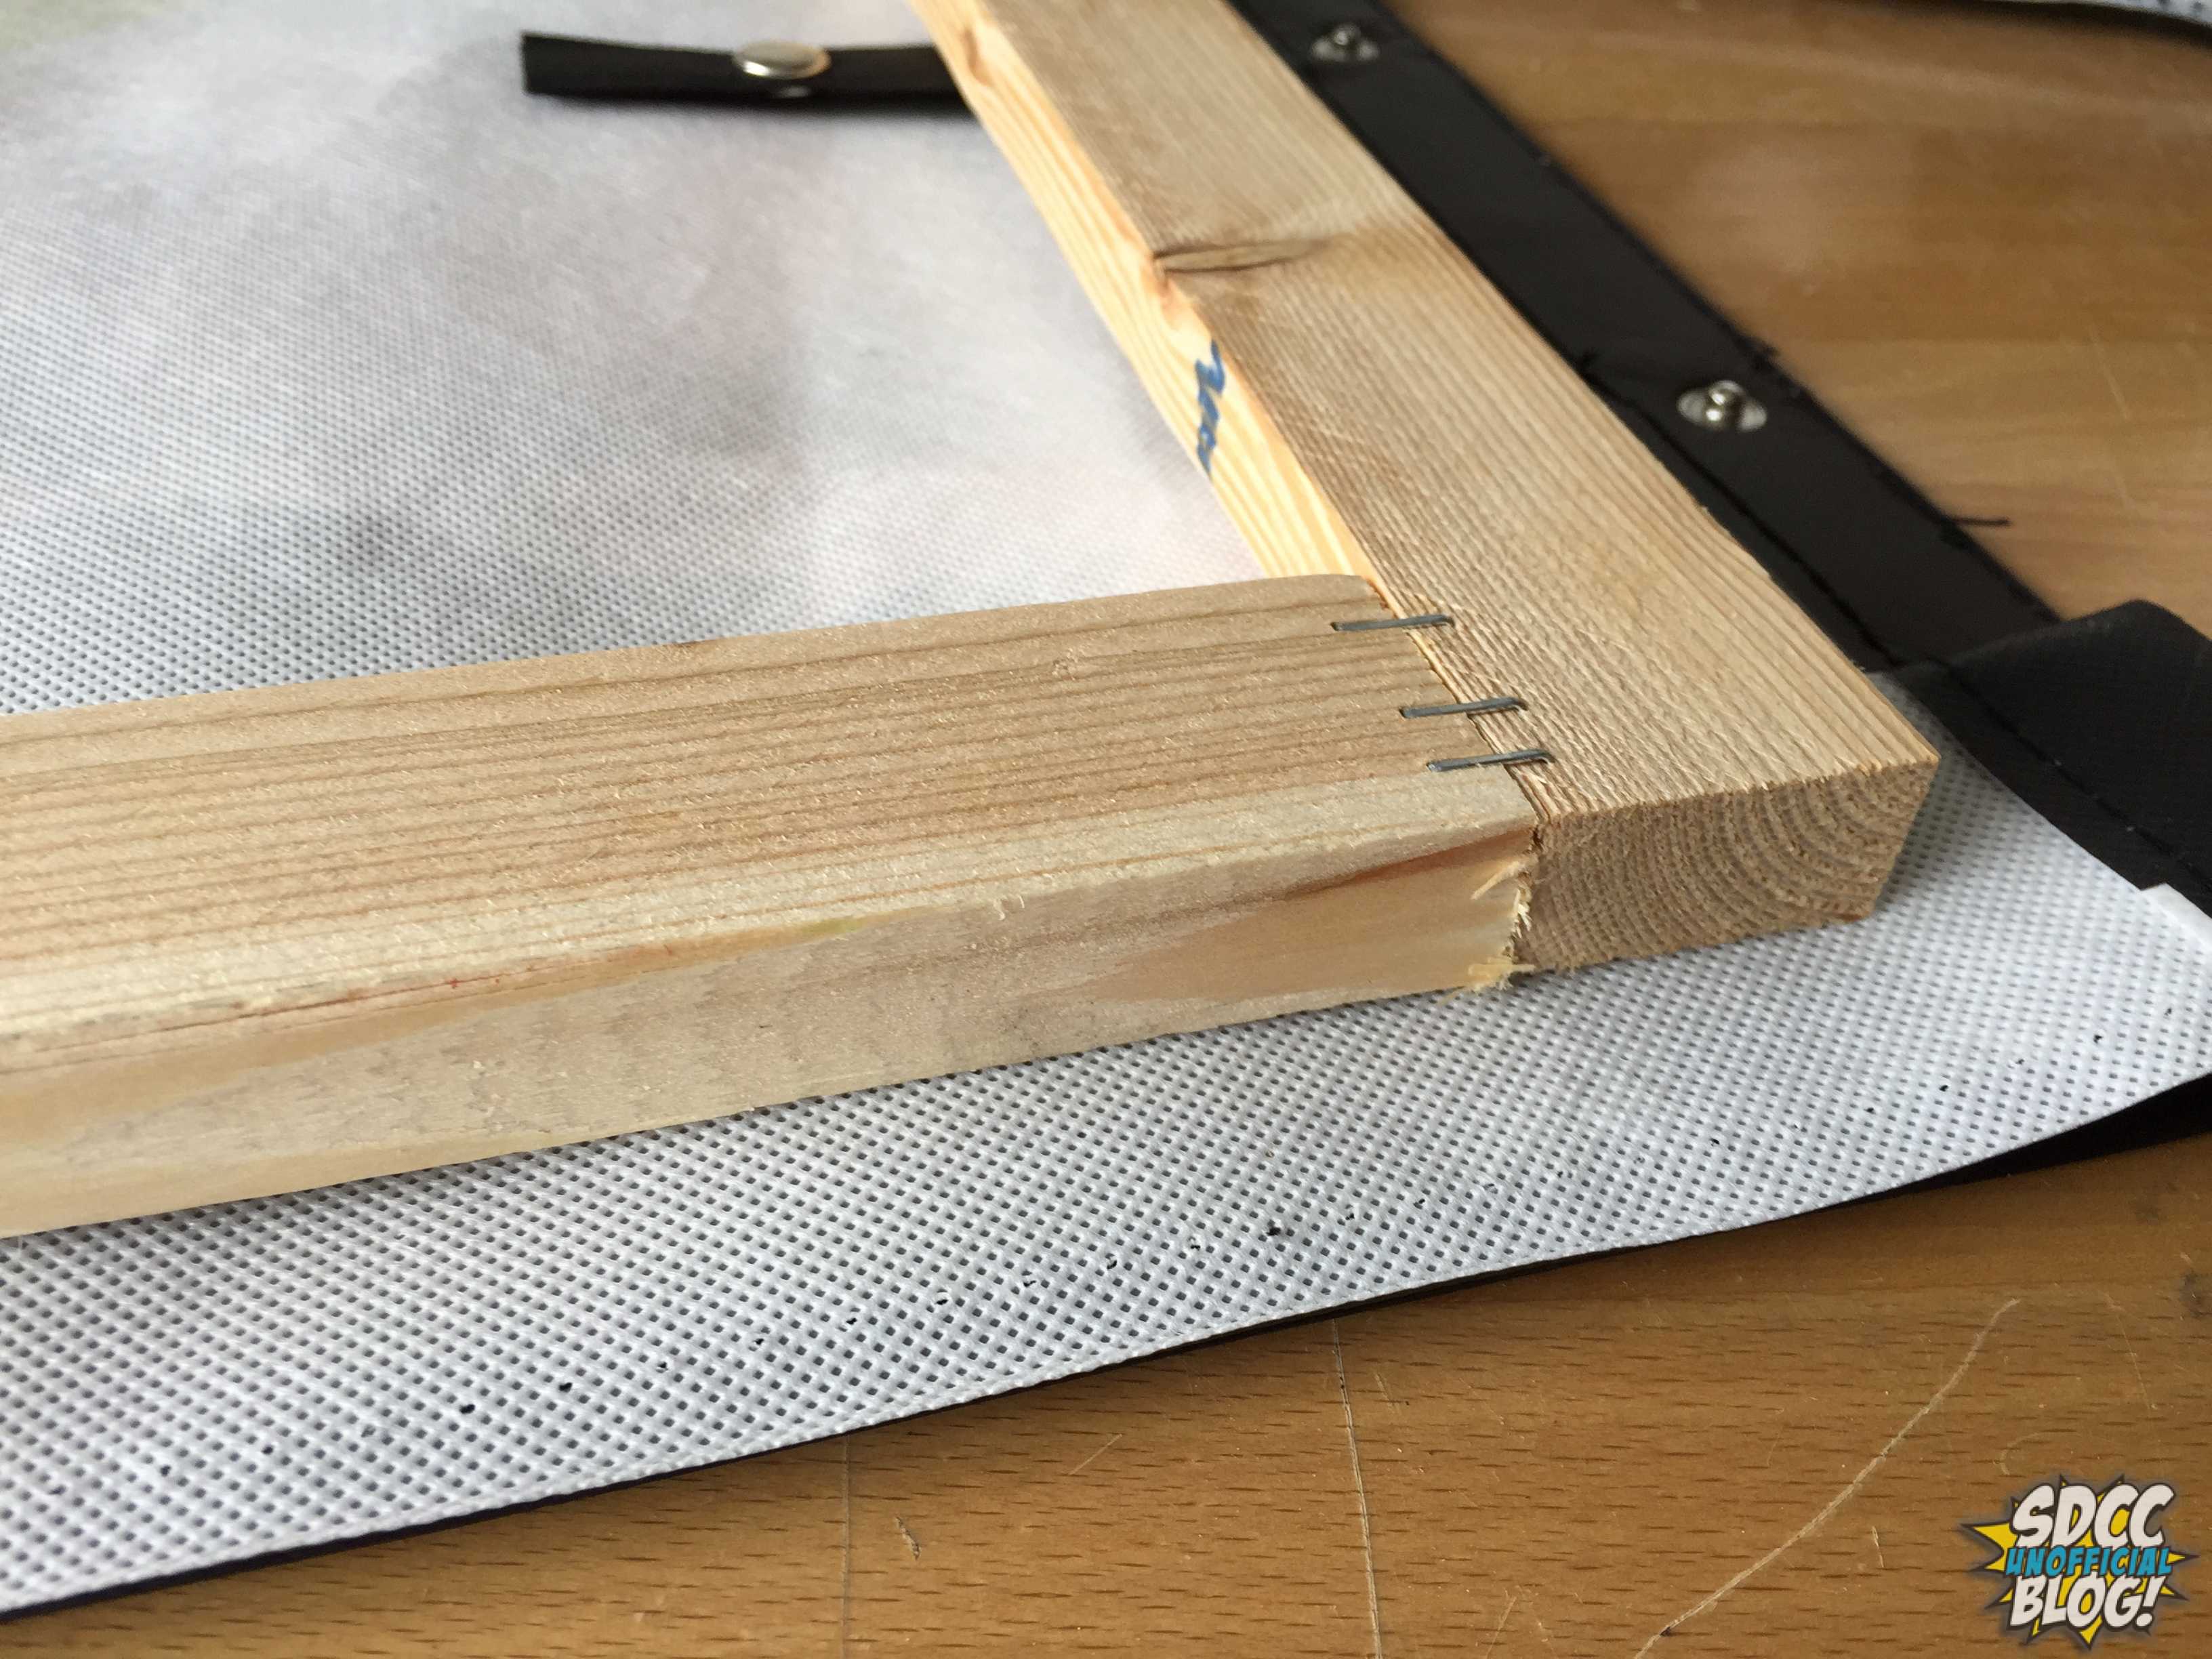
5). Use a staple gun to hold the pieces together. You can also use a metal square tool to ensure that the pieces are straight and that the corners are 90 degrees.

6). Adjust the bag. Once all four corners are stapled together, lay the bag piece on the frame and try to adjust which parts you want to show. On some of the bags there is print all the way to the edge of the bags. You just have to use your best judgement on what you want to show.
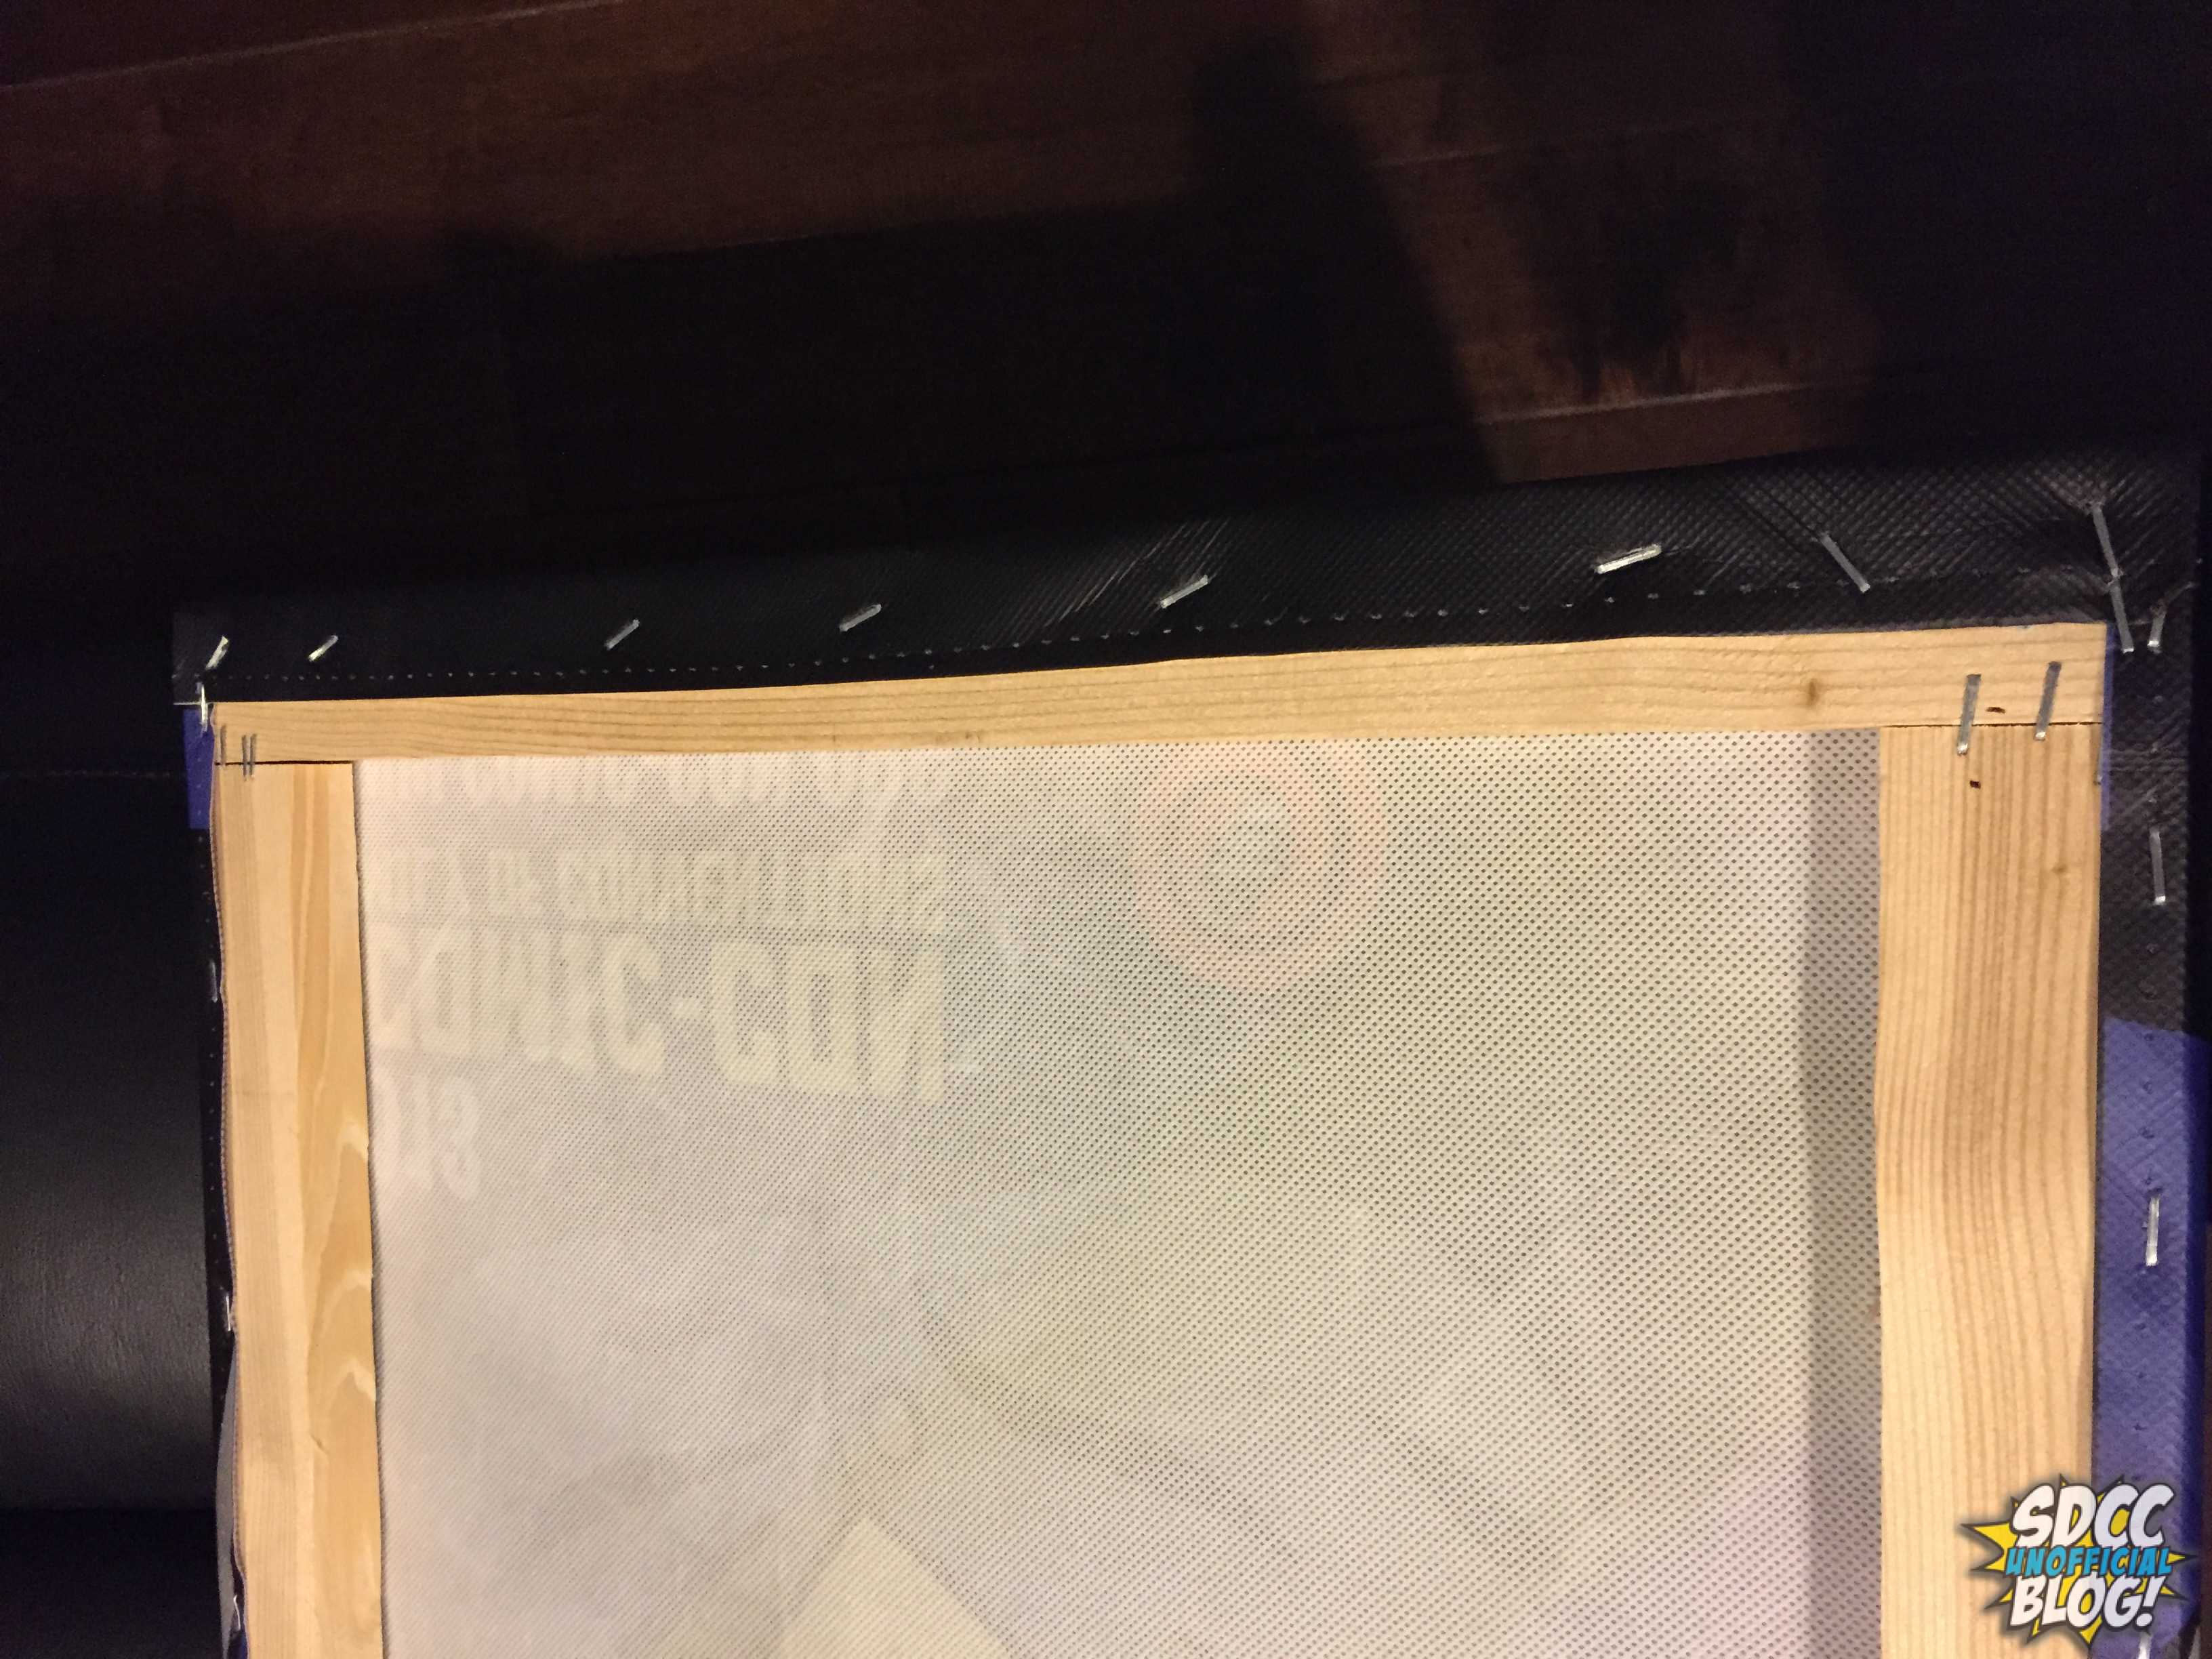
7). Staple the bag to the back of the wood. Flip the whole thing over and be sure you have enough on all edges to wrap the sides. Hold the bag tight and use the staples gun to fix it to the frame. Leave the corners for last.
8). Wrap and staple the corners. This is similar to wrapping a present.
9). Enjoy your new artwork.
*Use an electric stapler so that your hand isn’t killing you after. Keep a flat head screw driver on hand in case you have to remove a staple. Also keep a hammer for forcing staples that don’t go in all the way.